
Reviewed · WORKSHOPS
Enamel Jewellery Making Class in London
A tiny kiln makes big art. In this London enamel jewellery workshop, you get a real maker-class feel without the intimidation factor. I especially like how instructor Mabel breaks the process into clear steps, so it works even if this is your first craft like this.
I also love the small-group setup. The class is designed to stay intimate, and you get hands-on time rather than watching someone else do all the work. All the tools and materials you need are wrapped into the price too, which keeps the experience stress-free.
One thing to think about is piece choice and add-ons. If you want different sizes of silver blanks or a chain, those extras have separate prices, so check what you want before you pay at the end.
In This Review
- Key highlights to look for before you book
- Where it happens: Zoey Filigree and what that means for your time
- The class flow: from enamel basics to a finished pin or necklace
- 1) The intro: enamel myths get replaced by practical facts
- 2) Materials and tools: you handle the real gear
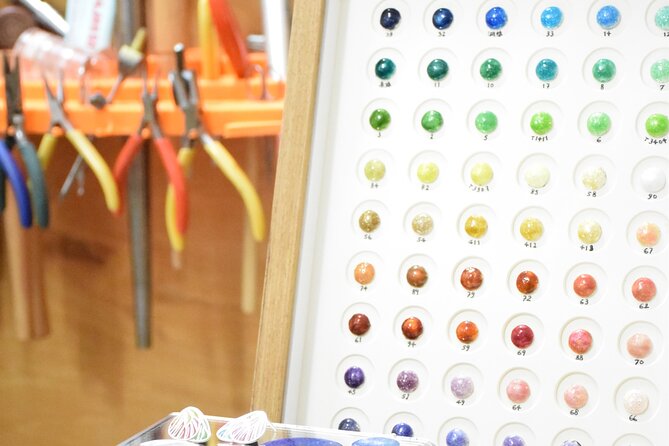
- 3) Choose your blank: 40 designs to get your creative brain going
- 4) Filing and sketching: the part that makes everything easier later
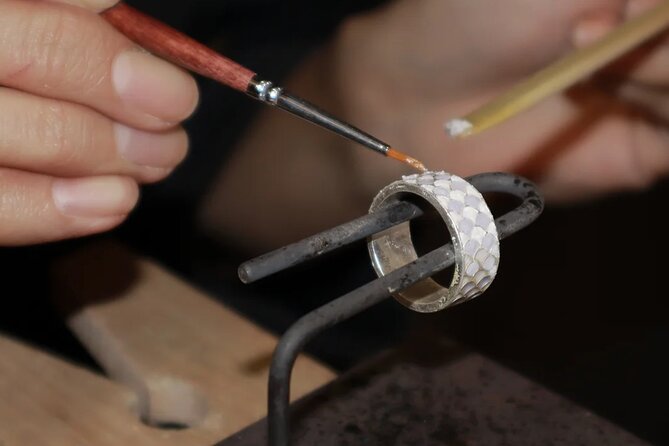
- 5) The enamel part: powder application with color blending guidance
- 6) Kiln time: baking happens after you finish your enamel layer
- 7) Finishing and polishing: making it look wearable
- What you get for your money: tools included, optional extras clearly priced
- Small group reality: great for beginners, watch for occasional larger sessions
- Why the one-on-one enamel coaching is the real star
- How to prepare like a pro (even if you’re new)
- Who this enamel class suits best
- Should you book the Enamel Jewellery Making Class in London?
- FAQ
- How long is the enamel jewellery making class?
- Where is the meeting point in London?
- What is the class price?
- Is it offered in English, and do I need a mobile ticket?
- Are tools and materials included in the price?
- What if weather is poor or the class needs to be canceled?
Key highlights to look for before you book
- A studio-style class with a very small group, built for real guidance and not a factory pace
- 40 design options for your base blank, so you can pick a look that feels like you
- Real enamel techniques taught with names like cloisonné and plique-à-jour, not just a vague craft demo
- Color coaching during enamel powder application, including layering and color blending ideas
- Kiln baking included, followed by hands-on finishing and polishing
- All core tools supplied, with optional extras for chains or larger blank sizes
Where it happens: Zoey Filigree and what that means for your time
This class meets at Zoey Filigree in London, Bedlam Mews (SE11 6DF), and it ends back at the same point. Start time is 2:00 pm, and the whole session runs about 2 hours. That timing matters because enamel work moves fast once you start shaping and applying powder, then you wait for kiln baking before finishing.
You’ll also appreciate the location if you’re already doing a day of London sightseeing. It’s near public transportation, so you can get there without turning the afternoon into a logistics puzzle. And since the workshop is offered in English with a mobile ticket, it’s the kind of activity that fits smoothly into a normal travel day.
A few more London days worth comparing
- 3 Hour Chinese Dumpling Cooking Class for 2-6 people in London
★ 5.0 · 44 reviews - Private DJ Class
★ 5.0 · 11 reviews - Melt Chocolate’s Magical Master Class
★ 4.5 · 10 reviews
The class flow: from enamel basics to a finished pin or necklace
Think of this as a guided making session, not a lecture. You start with a quick grounding in enamel jewelry so the materials make sense, then you move into choosing your blank and building your design. After enamel application comes the kiln, and then you wrap up with polishing so your piece looks ready to wear.
1) The intro: enamel myths get replaced by practical facts
You begin with a brief history and significance of enamel jewellery, then you learn what enamel is and how it’s used. The instructor also explains enamel techniques and styles such as cloisonné and plique-à-jour, so you know what people are talking about when they describe these looks.
For me, the value here is not the trivia. It’s the context. When you understand how the enamel sits and how firing affects texture and color, your final piece looks more intentional, even if you’re a beginner.
2) Materials and tools: you handle the real gear
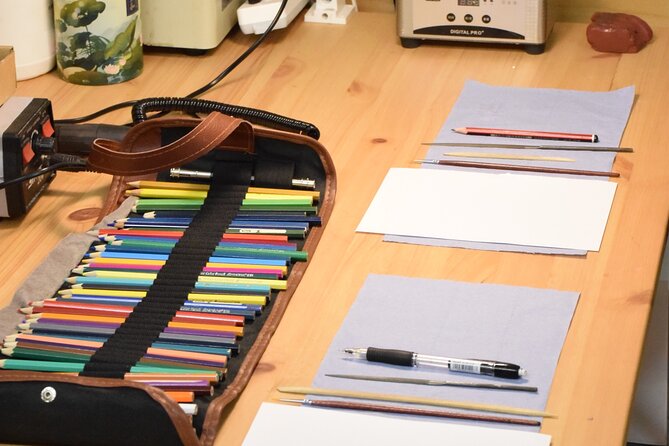
You’ll get a feel for the tools used in enamel work, including the kiln and a rotary micromotor, plus items like sandpaper and polishing compound. There’s also a kit-style setup: file, cutters, enamel color palettes, and paper and pencil for sketching.
One practical plus: since the core tools are included, you are not hunting around London for specialty supplies. You show up, choose your design, and work.
Same part of England, a different sort of day out:
- Stonehenge, Windsor Castle, and Bath from London
★ 4.5 · 18,662 reviews - London Big Bus Hop-On Hop-Off Tour with Optional River Cruise
★ 3.5 · 10,803 reviews - London Small Group Tour of Historical Pubs
★ 5.0 · 10,422 reviews - Stonehenge, Windsor Castle and Bath with Pub Lunch in Lacock
★ 4.5 · 7,402 reviews
3) Choose your blank: 40 designs to get your creative brain going
Next, you pick from 40 types of designs. This is where the class becomes personal. If you prefer something small and delicate or you want a bolder pattern, you’ll find options that match your taste.
A quick caution: with that many choices, decision fatigue is real. If you’re prone to overthinking, pick two designs you like, then choose the one that seems easiest to build confidently for your first go-round.
4) Filing and sketching: the part that makes everything easier later
You’ll file the blank and then design and sketch. Even if you’re not a “drawer,” the sketch step helps you plan your enamel placement. It’s also the moment where you start making choices that affect how the final piece feels in real life.
5) The enamel part: powder application with color blending guidance
This is the main event. You apply enamel powder, and the instructor gives one-on-one guidance on things like color blending, layering, and achieving the effects you want. You’ll also get help exploring design concepts and adjusting your plan as you go.
This is where I think people feel the biggest payoff. Enamel can look intimidating because the colors and layers are not “instant.” Live coaching helps you avoid two common beginner problems:
- using a color plan that turns muddy after firing
- piling on too much powder too quickly, which can make finishing harder
If you’re anxious about messing up, know that guidance is part of the class, not an extra.
6) Kiln time: baking happens after you finish your enamel layer
Once your enamel is ready, your piece goes into the kiln for baking. Then you return to finishing and polishing. The kiln step is key because enamel is not like paint. The transformation happens in firing, and that’s why the process matters more than artistic talent.
7) Finishing and polishing: making it look wearable
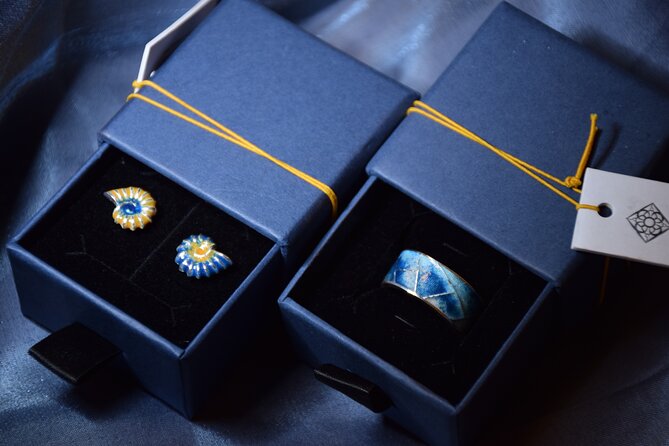
After baking, you finish and polish. This step is what turns your work from a craft experiment into a jewelry-ready piece. It’s also where the small details show up, like smooth edges and how the enamel surface reads under light.
If you want a wearable result, this finishing time is why the session ends with actual polish, not just a “you’re done” moment.
What you get for your money: tools included, optional extras clearly priced
The price is listed as $94.10 per person for about 2 hours. For London, that’s a fair deal for a guided studio class where you use specialist tools like a kiln and a rotary micromotor, and where the teacher works with you as you apply enamel.
Here’s the part that helps you judge value: the booking price includes all material and tools. That means you’re not paying separately for the key supplies that make enamel work possible.
What is not included is equally important. Accessories cost extra, like silver chains (listed at £10). Also, silver blanks have add-on prices for different sizes: medium blanks are £20 and large blanks are £50. If your dream is a specific scale or you want it to hang from a chain, budget for those choices.
My rule for this kind of class: decide whether you want a simple pin-style finish or a piece that’s meant for a necklace right at the start. Then you can choose blank size with that in mind, rather than making a last-minute decision.
Small group reality: great for beginners, watch for occasional larger sessions
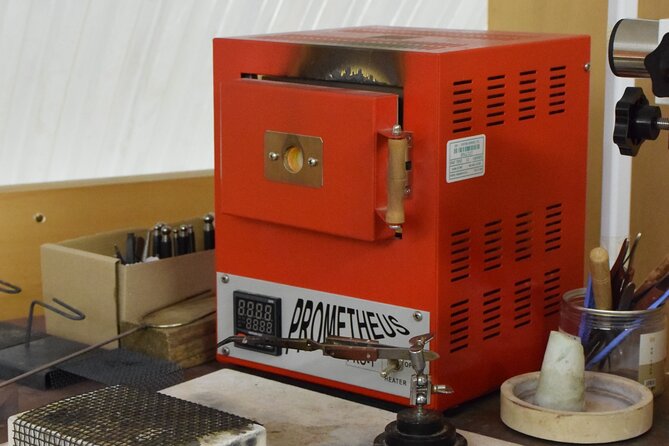
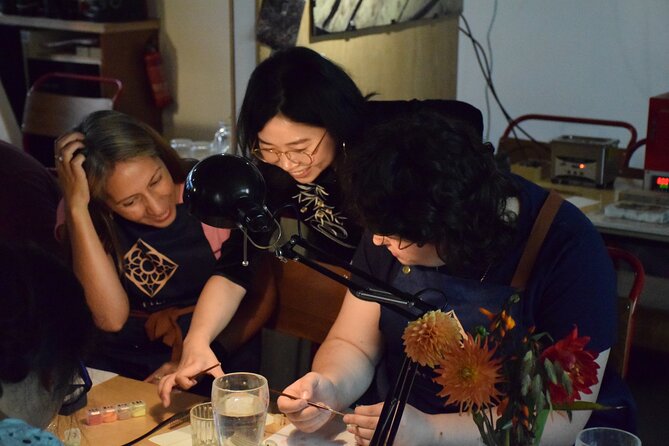
The workshop is designed to be intimate, with a typical maximum of four in the studio experience. The activity listing also indicates a maximum of 8 travelers, which supports a similar idea: you should be able to ask questions and get corrections while you’re working.
Still, group sizes can change depending on the specific date and event format. If you are sensitive to noise or want maximum attention, pick a weekday slot if you can, and message in advance about current class size. That small adjustment can make the difference between calm coaching and a more crowded feel.
Why the one-on-one enamel coaching is the real star
Plenty of craft classes teach technique. This one also teaches choices. When the teacher helps with color blending and layering during enamel application, you’re learning a repeatable method.
I like that the guidance is not limited to the first “try it” moment. You get help as you shape your design, and that’s especially helpful for beginners who don’t yet know what enamel will look like after firing.
Also, instructor Mabel gets mentioned as a standout teacher, and that matches the overall vibe you want in a first enamel class: calm, clear instruction that keeps your momentum going.
How to prepare like a pro (even if you’re new)
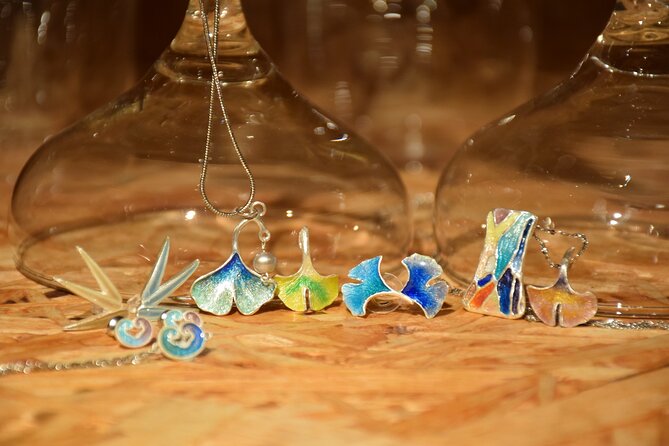
You don’t need special skills. You do want a mindset that enamel rewards patience. Here are practical things that help:
- Wear clothes you are comfortable working in (craft mess is part of the process).
- Plan for about 2 hours, so don’t schedule a tight activity right after.
- If you have a color palette in mind, bring it mentally, not on paper. The class provides color palettes, so you can match your taste quickly.
And if you are flying in or moving around London that day, give yourself buffer time. You’ll want to arrive early enough to settle in and pick your design without rushing.
Who this enamel class suits best
This workshop fits best if you want a hands-on art experience in London that you can actually finish in one sitting. It’s a strong choice for:
- beginners who want real instruction, not a take-home kit
- people who like making gifts, because the final piece becomes something you can wear or give
- anyone who loves process crafts, where the fun is in technique and finishing
It also works well for a rainy-day plan. While the activity notes that it needs good weather, the class itself is a studio-based making session, so it’s usually easier to handle than fully outdoor tours.
If you’re an advanced maker, you might still enjoy the structured approach and the focus on technique names like cloisonné and plique-à-jour, plus the kiln firing and polishing. Just note that the session is short, so it’s not designed as an extended studio apprenticeship.
Should you book the Enamel Jewellery Making Class in London?
Book it if you want a guided enamel experience with real tools, a small group feel, and the chance to leave with an actual finished piece after kiln baking and polishing. The included materials and clear instruction make it a solid value for your time, especially when you compare it to doing this kind of craft on your own in London.
I would think twice if you’re very budget sensitive and you already know you’ll want add-ons like a chain or larger blank sizes. In that case, decide your final jewelry plan early so the end-of-class costs don’t surprise you.
If you want a first-time-friendly art class that feels personal and practical, this is one of those London activities that pays off fast. You will learn technique, choose a design, and walk away with something you can wear. That combination is hard to beat.
FAQ
How long is the enamel jewellery making class?
The class lasts about 2 hours.
Where is the meeting point in London?
You meet at Zoey Filigree, Bedlam Mews, SE11 6DF, London, and the activity ends back at the same meeting point.
What is the class price?
The price is $94.10 per person.
Is it offered in English, and do I need a mobile ticket?
Yes, the workshop is offered in English and you’ll have a mobile ticket.
Are tools and materials included in the price?
Yes. All materials and tools are included in the booking price. Accessories and some silver blank upgrades are not included.
What if weather is poor or the class needs to be canceled?
If canceled due to poor weather, you’ll be offered a different date or a full refund. You can cancel for a full refund up to 24 hours in advance.
Recently added around London
- Stonehenge Private Tour★ 5.0 · 4 reviews
- Private Transfers From Heathrow Airport to Central London★ 5.0 · 8 reviews
- Professional Private Couple Photoshoot★ 5.0 · 35 reviews
- Private transfer to Southampton with a stop at Stonehenge★ 4.5 · 33 reviews
- Private transfer from London Heathrow Airport to Southampton★ 5.0 · 3 reviews
- Private London Panoramic Tour by Car with Pick Up From Your Hotel★ 5.0 · 13 reviews
- Private driver tours to Leeds Castle, Canterbury, White Cliffs★ 4.5 · 30 reviews
- Private Transfer Any London Hotel to Southampton Cruise Port★ 5.0 · 7 reviews
Workshops, compared.



Chocolate Bar Making Workshop – York Cocoa Works
Read our review →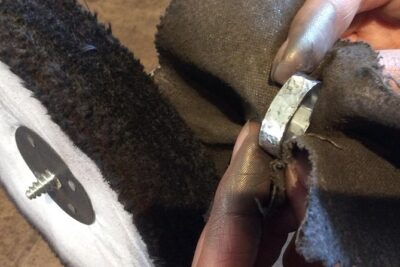

3 Hour Chinese Dumpling Cooking Class for 2-6 people in London
Read our review →
Browse the lists this tour appears in