
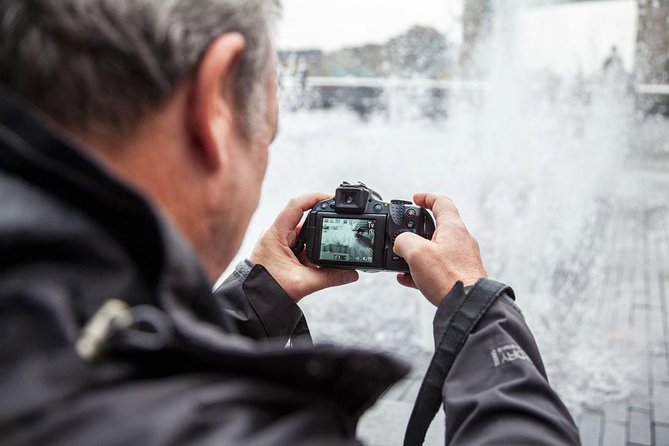
Reviewed · PHOTOGRAPHY SESSIONS
Beginners Photography Course – Small Group Workshop
One camera setting can make or break your photo. This small-group beginner course helps you trade Auto mode for real control, using London landmarks as your classroom. I love the one-to-one attention you get in a max-six group, and I love how the teaching stays focused on your exact camera. One thing to consider: you’ll get the most out of it if you bring your camera and come ready to practice outdoors.
You’ll start near London Bridge, learn core exposure basics with short shooting assignments, then put it into action with photos around Tower Bridge and the Tower of London. It’s an efficient half-day that turns confusing camera menus into clear cause and effect. If you want to leave with confidence and not just inspiration, this fits that goal.
In This Review
- Key things to know before you point your camera
- Beginners Workshop in Central London With a Max of Six
- Price and Value: What You Actually Get for $336.07
- Where You Meet and How the 4-Hour Walk Usually Feels
- Stop 1: More London City Hall and Camera Settings That Make Sense
- Short Shooting Assignments You Can Actually Repeat Later
- Stop 2: Tower Bridge Photos With Composition, Depth of Field, and Focusing
- Stop 3: Tower of London Viewpoints and Using Light Across the Water
- Beyond the Basics: What You’ll Be Able to Do After the Course
- Who Should Book This, and Who Might Want a Different Format
- Should You Book This Beginners Photography Course?
- FAQ
- How long is the Beginners Photography Course?
- How big is the group?
- Where do I meet for the tour?
- What locations do you visit?
- What camera basics do you practice during the course?
- Is food or lunch included?
- What should I bring?
- Is the workshop taught in English?
- Is there a minimum age?
- Is free cancellation available?
Key things to know before you point your camera
- Max six people means real help, not hand-waving when you ask about buttons, menus, or focus.
- Your tutor teaches to your specific camera model, not a generic demo camera.
- You practice ISO, shutter speed, and aperture on location, with quick assignments you can repeat later.
- You learn to see light and framing choices, from depth of field to focusing techniques at two big viewpoints.
- It’s a walking workshop, so plan for time outside between stops and come with a charged battery.
- The tone is patient and practical, with instructors who have helped students get unstuck, even when settings were a mess.
Beginners Workshop in Central London With a Max of Six
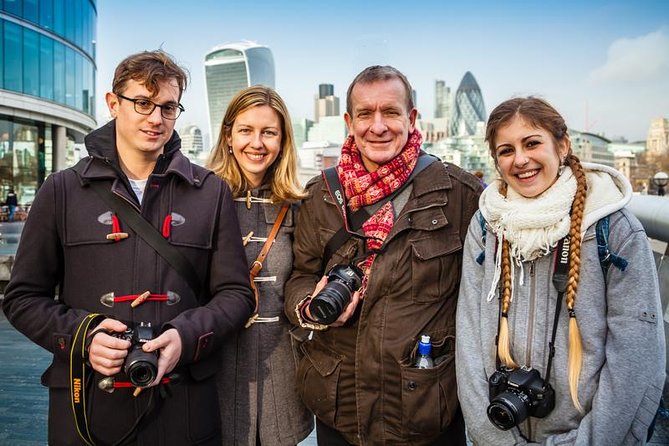
This is a true beginners course, but not a watered-down one. The group cap at six travelers is the big advantage. Instead of getting one quick explanation and hoping it sticks, you get time to ask follow-ups and test changes right away.
You also feel the difference in the teaching approach: the instruction is designed around your camera, not around the “perfect” camera the instructor imagines you have. One review highlights how Lou helped a student sort out a stubborn camera problem that required a factory reset. That’s exactly the kind of real-life support that makes a workshop like this worth it.
A few more London days worth comparing
- Professional Photoshoot in London Photographer
★ 5.0 · 102 reviews - Private landmarks photoshoot for families and couples
★ 5.0 · 92 reviews - Professional Private Photoshoot in London
★ 5.0 · 63 reviews
Price and Value: What You Actually Get for $336.07
At $336.07 per person for about four hours, you’re paying for coaching time. London has lots of tours, but this isn’t just walking and sightseeing. The core value is the tutoring: how you use your camera’s controls and how you understand what those controls change in your photos.
What makes the pricing feel fair is the structure. You cover basics at Stop 1 for about two hours, then you apply them at Tower Bridge and the Tower of London with focused photo goals. Those short sessions are not random photo stops. They’re tied to the same fundamentals you practiced earlier, like composition, focusing technique, and how light changes the look.
There’s also value in getting a confident workflow. One student put it simply: words like ISO, aperture, and shutter speed stopped being mysterious. That kind of progress can save you hours later, reading manuals or searching videos when you could have learned it in person.
Where You Meet and How the 4-Hour Walk Usually Feels
You meet at London Bridge Station, Station Approach Rd, London SE1 9SP, and the activity ends back at the meeting point. Because the tour is a walking format with three main stops, the day has a rhythm: brief travel time, focused instruction, then shooting time where you can test the lesson.
Total duration is listed as about four hours, which matches the stop timing. Stop 1 runs about two hours, and Stops 2 and 3 run about 30 minutes each. That leaves time for getting set up, moving between viewpoints, and getting your shots reviewed.
If you’re the kind of beginner who gets nervous in front of a camera, the flow helps. You start with a more controlled teaching environment at City Hall, then you graduate to wider, busier scenes. You won’t feel dropped into the deep end at Tower Bridge.
Stop 1: More London City Hall and Camera Settings That Make Sense
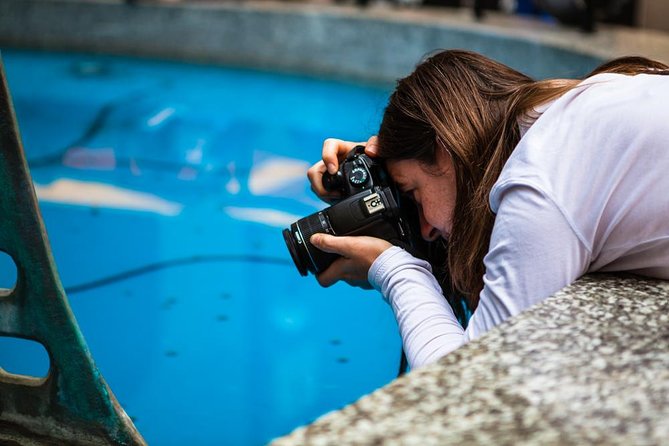
Stop 1 is where this course earns its keep. At the scenic More London and City Hall area, you learn how to use your digital camera effectively and gain control of its main functions and settings.
This is also where you learn the “why” behind exposure. You get practical short assignments that push you to use the big three: ISO, shutter speed, and aperture. Instead of memorizing terms, you see how changing one setting alters the photo you’re making. That cause and effect is what turns beginner confusion into real control.
A key detail is personalization. The tutor has experience with many camera types and teaches based on the camera you own. That matters because menu layouts and setting labels can differ a lot across brands and models. If you’ve ever tried to follow advice online only to discover your camera has different buttons, you already know why this matters.
Another helpful point: your tutor doesn’t just explain, they guide how to approach different subjects. Even at Stop 1, you’re learning how to choose what to photograph and how to frame it so the technical settings actually help the shot.
Practical takeaway: when you reach the next viewpoints, you’re not guessing. You’re applying the basics you practiced at City Hall.
Same part of England, a different sort of day out:
- Stonehenge, Windsor Castle, and Bath from London
★ 4.5 · 18,662 reviews - London Big Bus Hop-On Hop-Off Tour with Optional River Cruise
★ 3.5 · 10,803 reviews - London Small Group Tour of Historical Pubs
★ 5.0 · 10,422 reviews - Stonehenge, Windsor Castle and Bath with Pub Lunch in Lacock
★ 4.5 · 7,402 reviews
Short Shooting Assignments You Can Actually Repeat Later
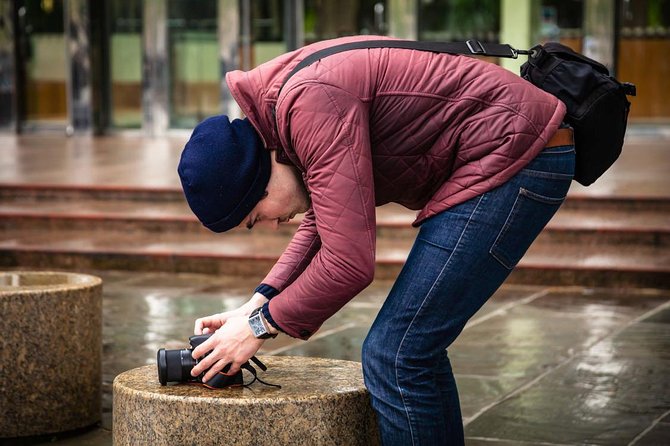
The assignments are quick on purpose. They’re designed so you can practice understanding, not just complete a worksheet. That means you can repeat the steps later on your own trip.
Here’s the mindset shift you’re aiming for: stop thinking of your camera settings as isolated facts. You want to see how exposure and focus decisions connect. ISO changes sensitivity to light. Shutter speed affects motion and blur. Aperture affects depth of field. When you see those relationships in action, you start making decisions faster and with more confidence.
A review sums it up nicely: one student said Lou made shutter speeds, ISO, focus, and related controls easy to remember because the differences were taught in a practical way. That’s the real win. You leave with mental hooks you can use the next time you’re standing in front of a scene.
If you like learning by doing, you’ll probably love this part. If you prefer sitting quietly and watching lectures, it might feel more active than you expect, since it’s a hands-on walking workshop.
Stop 2: Tower Bridge Photos With Composition, Depth of Field, and Focusing
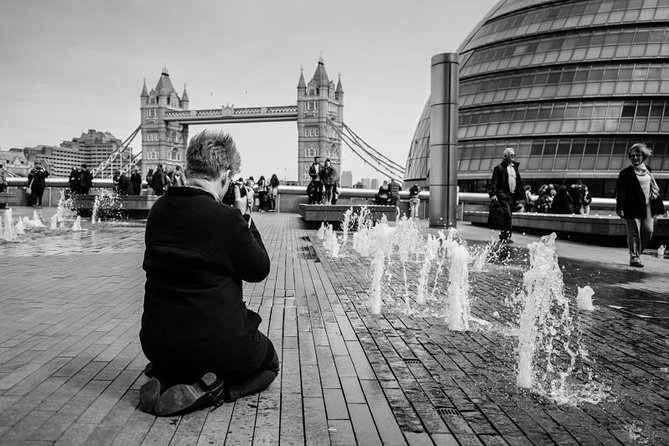
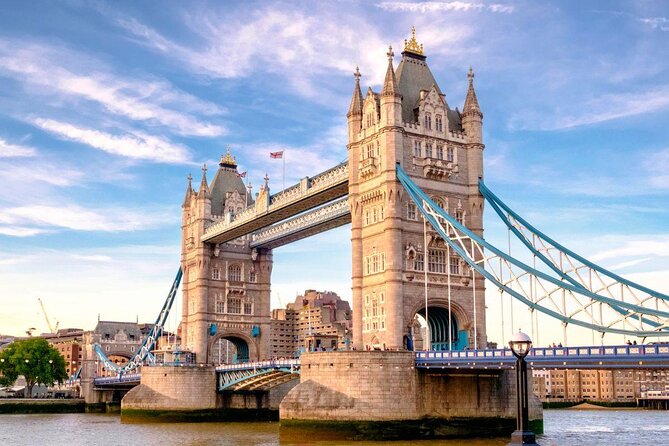
Then you move to Tower Bridge, and the lesson shifts to shooting with intent. From across the river, you photograph Tower Bridge in a way that encourages you to think about framing, depth, and light.
This stop focuses on a few practical skill areas:
- Composition and framing: how to arrange your subject so it looks intentional.
- Depth of field: what changes when you adjust aperture, and how it affects what feels sharp versus blurred.
- How light affects photos: what the scene looks like under the sky conditions you’re working with.
- Focusing techniques: a chance to connect focus control with composition choices.
You also learn a second type of realism that’s easy to miss on beginner tours. The “right” photo doesn’t happen by luck at big landmarks. You have to decide where to put your focus and how to create separation, especially when the background is also interesting.
A tutor is on hand throughout, which is great because beginners often hesitate to experiment. Here, you can try a setting, see the result, and correct without feeling like you’re wasting time.
One consideration: Tower Bridge is popular. The river view and viewpoints can be busy, so you’ll want to keep your gear organized and be ready for shared photo moments. The workshop structure still works well for that, but keep your expectations realistic.
Stop 3: Tower of London Viewpoints and Using Light Across the Water
Stop 3 takes you to the Tower of London, again photographed from across the river. It’s another strong location for learning because you get a clear subject, plus challenging light conditions and layered background elements.
This part of the coaching emphasizes:
- Lens choices (at least in terms of what you should consider for the look you want)
- Shutter speed decisions tied to motion and the way the scene renders
- Composition that makes the bridge and towers feel like a designed image, not a snapshot
- Using light effectively so your photos don’t end up flat or overly contrasty
The teaching stays geared toward your camera. That might mean the tutor translates concepts into your camera’s setting options, rather than forcing you to guess what the instructor means. If you’ve struggled with the mismatch between what a video says and what your camera allows, this is exactly the fix.
Also, you get professional tips on approaching different subjects. Tower of London can be photographed in many styles, and a short stop is enough time to learn the “decision rules” that let you choose your style quickly.
Beyond the Basics: What You’ll Be Able to Do After the Course
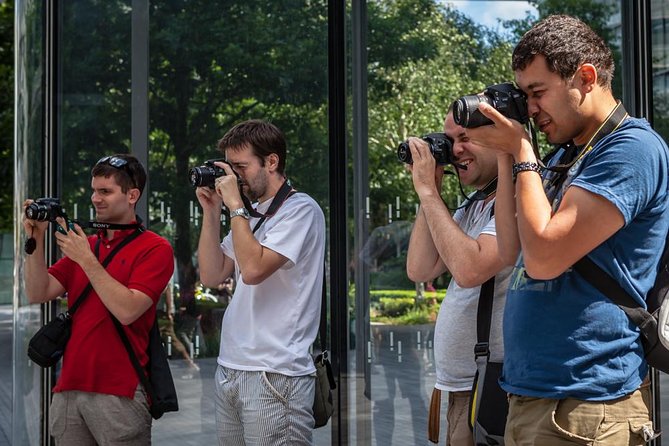
By the end, the goal is self-sufficiency. Several reviews point to the same outcome: participants leave feeling more confident, able to use manual settings and understand how the pieces work together.
Here’s what that typically looks like in real life:
- You understand what ISO, shutter speed, and aperture do in plain terms.
- You know how to change those controls without panic-scrolling menus.
- You understand how your camera’s focus behavior affects your final composition.
- You start thinking about light and framing as decisions, not accidents.
Some students specifically mention learning related controls like white balance and continuing to experiment afterward. While not every camera setup is identical, the broader lesson is the same: you’re building a toolkit you can apply across different settings and subjects.
You can also expect to have a better relationship with your camera manual. One review said their manual might actually get read and mean something. That’s a perfect description of what “real instruction” does. It turns the manual from a confusing wall of text into a reference you can actually use.
If you’ve spent years stuck on Auto and scene modes, this course helps you move past that comfort zone. The teaching style is designed to keep you from getting lost. You learn the basics in a way that doesn’t feel overwhelming, even if you bring a very intimidating camera.
Who Should Book This, and Who Might Want a Different Format
This course is best for people who are:
- New to photography or new to using their camera beyond basic modes
- Stuck in Auto or scene settings and ready to understand what those modes are hiding
- Traveling to London and want practical skills tied to iconic viewpoints
- Interested in a hands-on course where questions get answered while you’re standing at the subject
It’s also a good fit if you don’t have a shared camera model. Since teaching is tailored to your camera, you can show up with a different brand or style than the person next to you and still get meaningful guidance.
If you already shoot manually confidently and want advanced topics only, this may feel too basic. In one review, the group included people more advanced than the reviewer, and the course still worked because the teaching approach helped different levels. Still, the core focus is beginner fundamentals, so set expectations accordingly.
Should You Book This Beginners Photography Course?
If you want to stop guessing and start making photos on purpose, I think you should book it. The big reasons are simple: small group size, coaching that fits your camera, and practice that connects settings to photos you can see right away.
The value is strongest if you bring a charged camera and treat it like a workshop, not a sightseeing stroll. You’ll leave with technical clarity and with two useful viewpoints you can keep exploring with your new skills.
If you hate hands-on learning, or you’re hoping for a passive tour that’s mostly about the city sights, you might find the shooting practice demanding. But if you want London plus real camera control, this is a very practical way to get it in half a day.
FAQ
How long is the Beginners Photography Course?
The course is listed at about 4 hours.
How big is the group?
It is a small group workshop with a maximum of 6 travelers.
Where do I meet for the tour?
You start at London Bridge Station, Station Approach Rd, London SE1 9SP, UK.
What locations do you visit?
The tour includes stops at City Hall (More London and City Hall), Tower Bridge, and the Tower of London.
What camera basics do you practice during the course?
You practice the basics of ISO, shutter speed, and aperture using short assignments while you shoot on location.
Is food or lunch included?
No. Food and drinks, including lunch, are not included.
What should I bring?
Bring your own camera, a fully charged battery (and a spare if you have one), and memory cards.
Is the workshop taught in English?
Yes, the tour is offered in English.
Is there a minimum age?
The minimum age is 16 years.
Is free cancellation available?
Yes, free cancellation is available up to 24 hours in advance for a full refund. If you cancel less than 24 hours before the start time, the amount paid is not refunded.
More Workshops in London
- 3 Hour Chinese Dumpling Cooking Class for 2-6 people in London
★ 5.0 · 44 reviews - Surf Lesson
★ 5.0 · 349 reviews - Beginner Surf Lesson in Newquay, Cornwall
★ 5.0 · 215 reviews - Sea Kayak Lesson & Tour in Newquay
★ 5.0 · 189 reviews
Recently added around London
- Bridget Jones Walking Tour of Locations★ 5.0 · 31 reviews
- 1-Hour Private London Photoshoot★ 5.0 · 3 reviews
- Private British Food and History Tour at London’s Borough Market★ 5.0 · 19 reviews
- Silent Disco Walking Tours West End Boogie Shoes★ 5.0 · 28 reviews
- Booze, Brothels & The Bard: A Walking Tour of London’s Bawdy Borough★ 5.0 · 96 reviews
- Borough Market Food Tour – Self Guided★ 3.5 · 11 reviews
- Private Half Day Tour on a London Cab★ 5.0 · 13 reviews
- Spy for a day London VIP – All Inclusive and Private Tour★ 4.0 · 30 reviews
Photography Sessions, compared.
Professional Photoshoot in London Photographer
Read our review →
Private landmarks photoshoot for families and couples
Read our review →
30 Major London Attractions Walking Tour With Photos
Read our review →
Private Smartphone photography Walking Tour Around Bath
Read our review →
Private Photoshoot with a Top-Rated Local Photographer
Read our review →
60-Minute Private Photoshoot Tour near Bigben and London Eye
Read our review →Browse the lists this tour appears in