
Reviewed · PHOTOGRAPHY SESSIONS
London Creative Photography Tour
London looks different through a lens. This creative photography tour starts at Nelson’s Column and quickly gets you thinking about framing, light, and street-level moments around Westminster and the Thames. I especially like the personal attention from guide Jesus and the practical, on-the-walk guidance for shooting with your phone or camera. The main thing to consider is that it is an active walk through busy areas, and you will end in a different spot, so plan your own way back.
You get a lot of big-London landmarks without losing the creative focus. I like that you are not just sightseeing, you are practicing, and you can even test extra photo gear like new-generation mirrorless cameras, plus things like tripods and filters. One possible drawback is the walking pace. If you have limited stamina, those multiple river crossings and city blocks can feel like a workout.
In This Review
- Key Things That Make This London Photo Tour Worth Your Time
- Starting at Nelson’s Column: How the Tour Gets You Shooting Fast
- Trafalgar Square to Parliament Square: Framing Westminster Like a Pro
- Crossing Toward the London Eye: New Angles Over the Thames
- Covent Garden and the Charing Cross Area: Street Photography in Real Life
- Southbank to St Paul’s: Bridges, Texture, and the “Walk-and-Frame” Skill
- Millennium Bridge and Optional Southwark Views: More Icons if Time Allows
- Phone or Camera Guidance, Plus the Gear Test-Drive
- Why Guide Jesus Changes the Whole Vibe
- Price and Value: Is $142.67 a Smart Use of Your Time?
- Who This Tour Fits Best (And Who Might Want Another Plan)
- Should You Book This London Creative Photography Tour?
- FAQ
- How long is the London Creative Photography Tour?
- Where does the tour start?
- What language is the tour offered in?
- Do I need to bring my own camera?
- Is coffee or tea included?
- Is transportation included in the price?
- Can I cancel and get a refund?
Key Things That Make This London Photo Tour Worth Your Time
- Small-group teaching with guide Jesus, so you can ask questions and get targeted tips while you shoot
- Icon-to-icon route, from Trafalgar Square and Westminster to the Southbank, St Paul’s, and the Tower area
- Phone or camera-friendly techniques, with real practice in crowded street photography spots
- Try-before-you-buy gear moments, including mirrorless cameras, tripods, and filters
- Multiple Thames angles, using bridges and riverside viewpoints to build new compositions
- Included coffee and/or tea, with a mid-walk reset for sharing what you are learning
Starting at Nelson’s Column: How the Tour Gets You Shooting Fast
Meeting at Nelson’s Column in Trafalgar Square is a smart move. It is central, recognizable, and full of photographic “stuff” right away. Before you even wander toward Westminster, you get a quick setup on core ideas like how to compose a shot and how to spot a strong background. This is the kind of prep that helps you move from taking random pictures to making images that look intentional.
The early minutes matter. You can see big subjects like the National Gallery area and the statues around the square, but you also get a crash course in turning chaos into composition. You are surrounded by Londoners and tourists, which sounds like a problem, until you learn how to use the crowd. Street photography is less about perfect conditions and more about timing, angles, and using movement to your advantage.
I also like that you are not locked into one style. You can work with a phone, or bring your own camera. Either way, the guide’s goal is the same: help you get better shots during the walk, not later in your photo library.
A few more London days worth comparing
- Professional Photoshoot in London Photographer
★ 5.0 · 102 reviews - Private landmarks photoshoot for families and couples
★ 5.0 · 92 reviews - Professional Private Photoshoot in London
★ 5.0 · 63 reviews
Trafalgar Square to Parliament Square: Framing Westminster Like a Pro
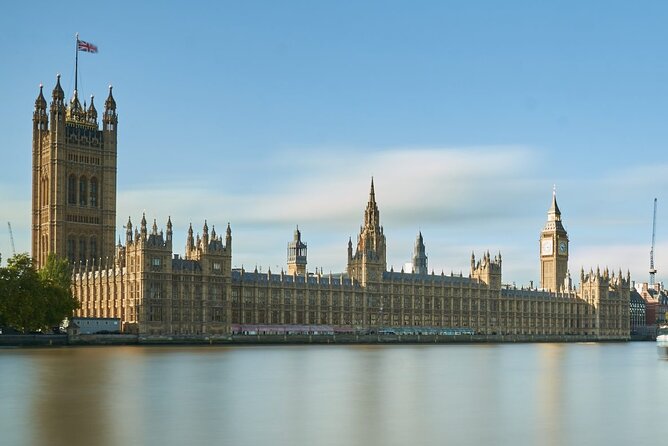
From Trafalgar Square, the route pushes you toward the Palace of Westminster area. Along the way you pass by Admiralty Arch, the Mall, Horse Guards Parade, and The Cenotaph, then you land at Parliament Square Garden for outdoor views that include Big Ben and Westminster Abbey.
This stretch is great for learning how to photograph “iconic but tricky” subjects. Westminster buildings look dramatic, but they can also turn into flat postcards if you always shoot straight on. On this tour, you practice working different ways: changing perspective, thinking about lines, and using nearby architectural details to frame the main landmark.
A practical tip that matters here: plan your shot before you lift your camera. It sounds obvious, but in a place like this, you will feel the urge to shoot instantly. The guide helps you slow down for a second, then aim. Even if you only shift a few steps, you can turn a standard scene into something that looks like it was composed rather than captured.
Crossing Toward the London Eye: New Angles Over the Thames
Once you cross toward the London Eye, the vibe changes from “landmark fronts” to “views with options.” You get different sightlines of Palace of Westminster and Big Ben, and that is where the photography payoff really ramps up. Shooting across the Thames gives you more layers to work with, including water, skyline depth, and bridge structure.
This is also a good moment to practice creative compositions instead of only wide scenic shots. When your view spans multiple layers, you start thinking in terms of foreground, midground, and background. That simple shift can dramatically improve phone photos, because you stop treating everything as one flat image.
You will move through areas like Leake Street, Golden Jubilee Bridges, and the Waterloo surroundings. Leake Street is especially interesting for street-style work, and in one group experience, guide Jesus even took people to an Underground graffiti tunnel. That kind of detour is exactly the sort of extra texture that makes a photo walk feel like London, not just a checklist.
Covent Garden and the Charing Cross Area: Street Photography in Real Life
Heading through Embankment and Charing Cross toward Covent Garden is where this tour really leans into street photography. These are lively areas, with people moving in and out of frames constantly. That is not a problem. It is your training ground.
In busy pedestrian zones, you learn two key skills fast: how to find a visual anchor, and how to time your shots. If you chase the crowd without a plan, you end up with blur and missed moments. If you use the crowd as rhythm, you get photos with story. The guide’s creativity helps you see patterns quickly, like where lines from buildings lead your eye, or how signage, color, and movement can act as foreground interest.
Covent Garden is also great for practicing candid street portraits or semi-candid shots. You will see lots of faces, costumes, and spontaneous interactions. Even if you do not want people in your photos, the energy around performers and market spaces gives you textures that make your images feel alive.
Same part of England, a different sort of day out:
- Stonehenge, Windsor Castle, and Bath from London
★ 4.5 · 18,662 reviews - London Big Bus Hop-On Hop-Off Tour with Optional River Cruise
★ 3.5 · 10,803 reviews - London Small Group Tour of Historical Pubs
★ 5.0 · 10,422 reviews - Stonehenge, Windsor Castle and Bath with Pub Lunch in Lacock
★ 4.5 · 7,402 reviews
Southbank to St Paul’s: Bridges, Texture, and the “Walk-and-Frame” Skill
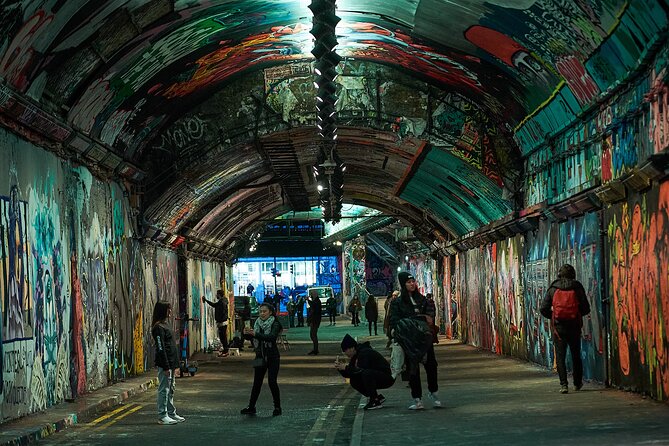
As you continue south, you cross the river by Waterloo Bridge, then move through the National Theatre area and along Southbank. This portion is where bridges become your best friends. Bridges naturally provide structure, repeating shapes, and strong lines, so you can turn “moving forward” into a sequence of compositions.
Then you reach Blackfriars Bridge, with its iron arches and stone carvings, plus scenic views that make it easier to create dramatic angles. And finally, you arrive at St Paul’s Cathedral, an image magnet that can still be tough if you only shoot from one side.
The value here is the pacing. This tour is a walking course, not a drive-by. So instead of grabbing one cathedral photo and calling it done, you practice how to photograph it from street level, from wider angles, and with city context. When you learn that skill, you start getting more interesting results at home too, because the approach transfers to any city.
Millennium Bridge and Optional Southwark Views: More Icons if Time Allows
By the time you are walking toward Millennium Bridge, there is probably a short break to grab a hot drink and check in on what you have learned. That pause is more than comfort. It is when your brain catches up, and you start noticing patterns in your own photos. It is a simple trick, but it makes the second half feel more intentional.
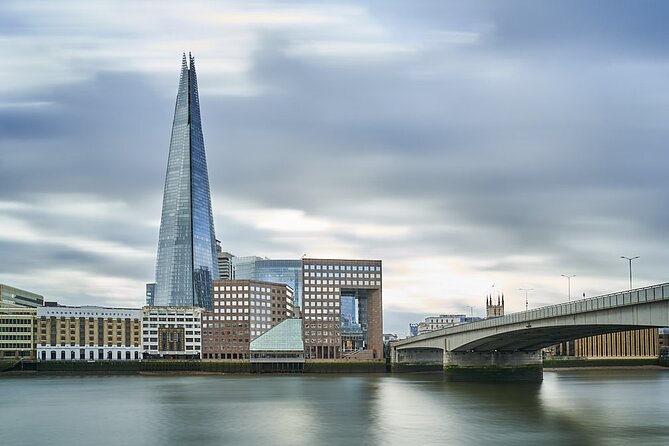
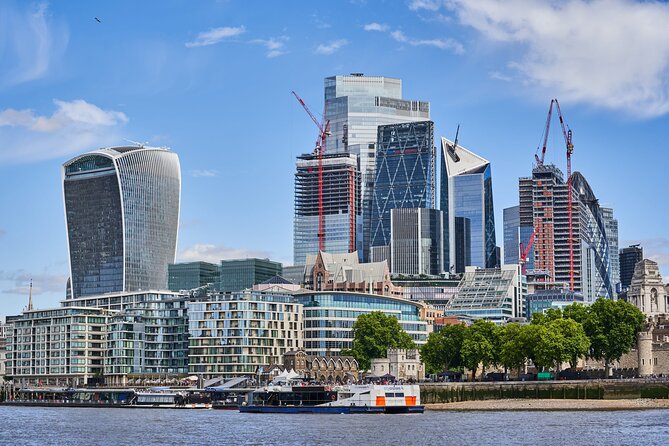
If you have time, the tour may continue with options across the north riverside toward places like Tate Modern, Shakespeare’s Globe, London Bridge, or even The Shard on the Southwark side. The point of these extra views is not just extra landmarks. It is learning how the same city looks from different corners and elevations.
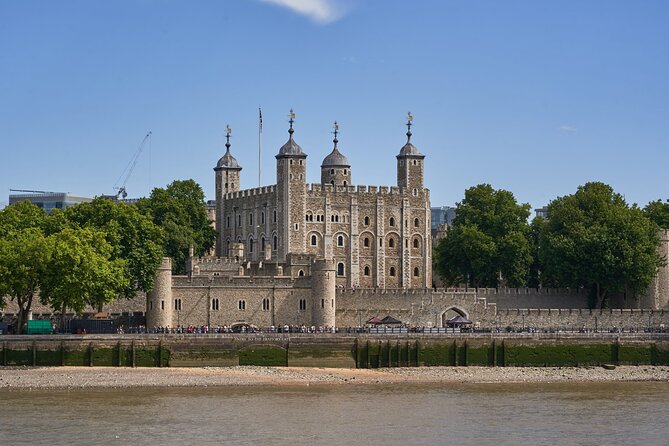
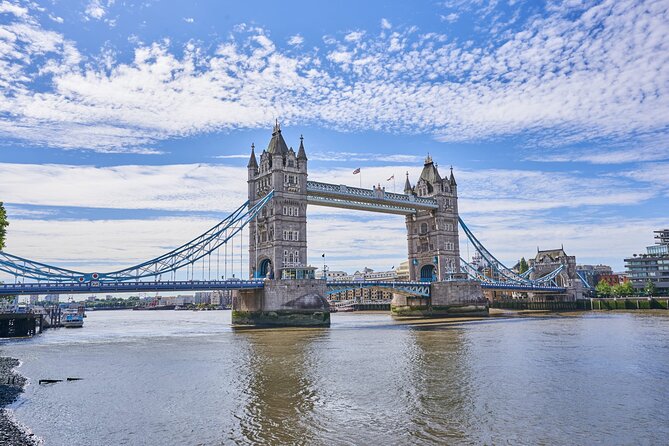
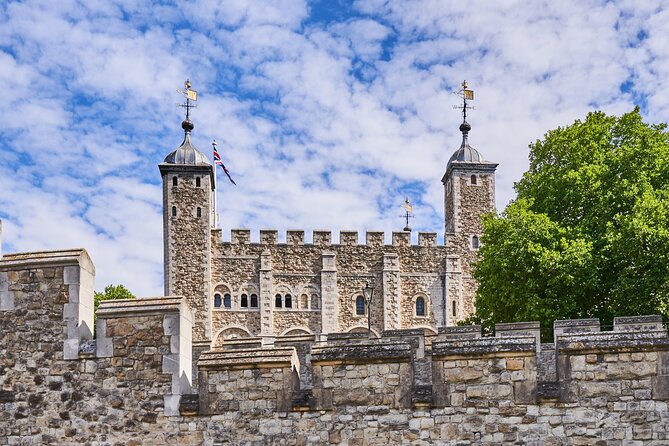
Then you head on toward HMS Belfast and finish near the Tower of London and Tower Bridge area. That ending works well because you go out with multiple “signature London” images stacked together: river drama, historic waterfront, and the iconic fortress-and-bridge combo.
Phone or Camera Guidance, Plus the Gear Test-Drive
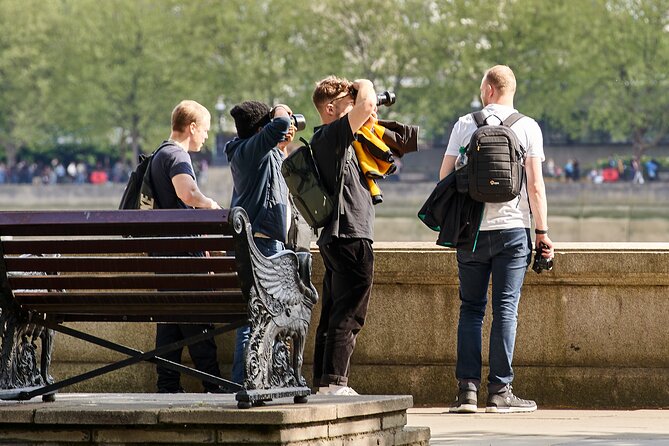
You are asked to bring your own camera, but you can try additional equipment. That matters because it gives you a taste of different tools without committing to buying anything. You can test new generation mirrorless cameras with different lenses and accessories like tripods and filters.
Even if you mostly shoot with a phone, this gear trial can help you understand what changes when you use a camera with interchangeable lenses. You begin to see why certain shots look a certain way, like sharper subject separation, longer exposure possibilities, or the difference between wide-angle distortion and more natural perspective.
Tripods and filters can also teach you patience. In a place with constant movement, using a tripod can help you slow down and plan. You learn how to stay steady, how to avoid rushing, and how to experiment with settings instead of only tapping the shutter.
And since the tour supports English or Spanish, you can learn the concepts in the language you are most comfortable using. That makes it easier to ask follow-up questions without losing time.
Why Guide Jesus Changes the Whole Vibe
The reviews are clear: guide Jesus is professional, teaching-focused, and genuinely excited about photography. People describe learning new techniques, having lots of fun, and coming away with better results rather than just a list of places.
What that feels like in real life is simple. You are not left on your own to figure everything out. You get guidance tied to what you are shooting right now. If your framing is off, you do not just get a vague tip, you get direction that helps you correct it immediately.
One review also highlighted that Jesus took a group to an Underground graffiti tunnel. That is a good example of how he thinks beyond obvious tourist angles. He looks for visual texture, contrast, and street details that make your photos feel like London, not just London labeled in postcards.
If you want a tour that respects your curiosity and turns the walk into skill-building, this is the kind of guide model that works.
Price and Value: Is $142.67 a Smart Use of Your Time?
At $142.67 per person for about 3 hours, this tour sits in the sweet spot between “quick highlights” and “serious workshop.” You are paying for three things at once: time with a guide, structured practice, and the chance to try extra photography gear.
You also have to note what is not included. There is no transportation provided, so you will handle getting to the meeting point and moving on as needed. The tour ends in a different location, so build that into your plan for your evening.
That said, the route is efficient. You cover a lot of iconic areas on foot while learning how to shoot them well. If you care about photography quality, not just destination stamps, the price makes more sense. It is not cheap, but it is not “just pay for a walk and hope for the best” either.
Who This Tour Fits Best (And Who Might Want Another Plan)
This works best if you want a hands-on approach and you like learning by doing. It is also a good fit if you travel with someone else who wants to shoot, because a private group model means your guide can focus on your pace and your questions.
You should also be comfortable with moderate walking and busy streets. The day includes multiple crossings and city blocks, plus stops where you might be standing and repositioning for shots. If you have mobility limits or you know you tire quickly, you may find it more demanding than a relaxed sightseeing stroll.
That said, the mix of phone-friendly tips and camera concepts means beginners can join without feeling lost, and more experienced photographers can still get value through creative angles and practice prompts.
Should You Book This London Creative Photography Tour?
Yes, I would book it if you want your London photos to look more intentional and you like learning while you walk. The standout reasons are the teaching style of guide Jesus, the practical shot-building tips, and the fact that you are shooting in multiple real-world settings, from big landmarks to street textures.
If you only want a quick overview of sights with no focus on photography, you might feel it is too active. But if you bring a phone or camera and you want to leave with better images plus new techniques, this is a strong value use of a half-day.
Just plan your footwear, expect a lively walking route, and remember you will finish in a different area, so have a simple plan for getting back.
FAQ
How long is the London Creative Photography Tour?
It lasts about 3 hours, with walking throughout.
Where does the tour start?
The meeting point is Nelson’s Column, A400 Trafalgar Square, London WC2N 5DS, UK.
What language is the tour offered in?
You can choose English or Spanish.
Do I need to bring my own camera?
Yes. You bring your own camera, and you will be able to try/test additional equipment like new generation mirrorless cameras, plus accessories such as tripods and filters.
Is coffee or tea included?
Yes, coffee and/or tea is included.
Is transportation included in the price?
No. No transportation is included, and there are no taxi or hotel/airport pickups.
Can I cancel and get a refund?
Yes. You can cancel for free up to 24 hours in advance for a full refund. If you cancel less than 24 hours before the start time, the amount paid will not be refunded.
Recently added around London
- Londinium’s Footprint: Explore London’s Roman wall on a self-guided audio tour★ 5.0 · 3 reviews
- Executive Private London Departure Transfer – Hotel / Accommodation to Airport★ 4.5 · 26 reviews
- London 4 Hour Private Car Tour Hotel Pick Up and Drop Off★ 5.0 · 7 reviews
- Private 2-Hour Night Tour of London in an Iconic Black Cab★ 5.0 · 25 reviews
- Your Own Boat!★ 5.0 · 15 reviews
- The Chimney Lift at Battersea Power Station★ 4.0 · 5 reviews
- Private Tour: Windsor Castle Day Trip from London★ 5.0 · 9 reviews
- Lights, Camera, London: The Movie Locations Walking Tour★ 5.0 · 19 reviews
Photography Sessions, compared.
Professional Photoshoot in London Photographer
Read our review →
Private landmarks photoshoot for families and couples
Read our review →
30 Major London Attractions Walking Tour With Photos
Read our review →
Private Smartphone photography Walking Tour Around Bath
Read our review →
Gorgeous Influencer Photography Experience Trip in London
Read our review →
Beginners Photography Course – Small Group Workshop
Read our review →Browse the lists this tour appears in